
Tools
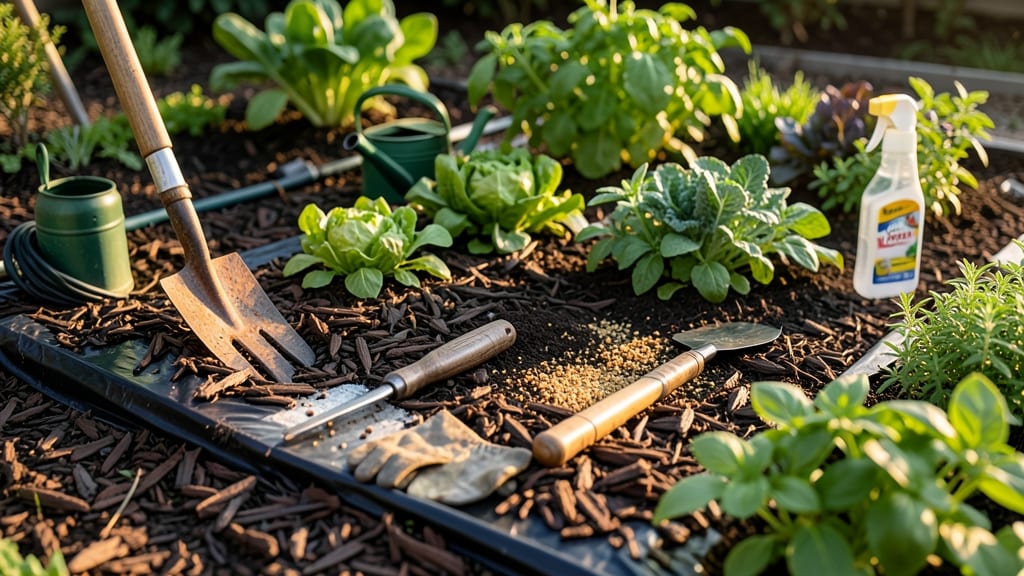
How to prevent weeds in your garden—they steal nutrients, water, and sunlight from your plants—until you stop them with natural barriers that actually work. 🌱 I’ve battled these stubborn invaders for years, and after killing my back with hand-pulling, I discovered smarter solutions that keep weeds at bay without harsh chemicals. The key is layering strategies: thick mulch blocks sunlight, dense ground covers smother seeds, and strategic planting outcompetes weeds before they sprout. My favorite setup uses cardboard + straw under perennials and wood chips around fruit trees—both last months and break down naturally. You’ll see fewer weeds within weeks, and your plants will thrive without competition. The best part? These methods save time, protect soil health, and work for vegetable gardens, flower beds, and even lawn edges. No more back-breaking work or chemical reliance—just a foolproof system that keeps your garden looking neat and productive all season. Here’s exactly how to set it up!
📚 In This Guide
- What you need
- Instructions
- Tips and common mistakes
- Wrapping up and next steps
What you need
- ● Mulch: 2–4 inches of organic mulch (straw, wood chips, or shredded leaves). Pro tip: Avoid dyed mulch—it can harm plants!
- ○ Landscape Fabric: 1 roll (3–4 feet wide, breathable fabric). Optional: Poke holes for plant stems.
- ● Cardboard or Newspaper: 2–3 sheets (for smothering weeds before mulching).
- ● Gravel or Rocks: 1–2 bags (for pathways or decorative barriers).
- ● Corn Gluten Meal: 1–2 pounds (natural pre-emergent herbicide). Apply early spring!
- ● Garden gloves (1 pair—trust me, your hands will thank you).
- ● Hand trowel or shovel (for digging and spreading mulch).
- ● Rake (to level mulch and smooth surfaces).
- ● Scissors or utility knife (for cutting landscape fabric).
- ○ Optional but handy: Wheelbarrow (for hauling mulch), hose with spray nozzle (for watering), or a weed torch (for stubborn patches).
- ● Clear the area of existing weeds (pull or smother them first!).
- ○ Test soil pH (optional but helpful for plant health). 💡 Tip: Aim for 6.0–7.0 for most veggies.
- ● Choose the right mulch for your climate (e.g., cedar chips for moisture retention).
Step-by-Step guide to creating natural weed barriers in your garden
Here's how to smother weeds naturally without chemicals—using what you already have.
🌱 Step 1: Choose Your Barrier Material
Cardboard, newspaper, or thick layers of organic mulch work best. I prefer unbleached cardboard because it breaks down slowly while blocking light—weeds can't grow without sunlight. Avoid glossy paper or plastic; they don't allow moisture to penetrate and can suffocate soil microbes over time.
Cut sheets to fit between plants or garden beds, overlapping edges by 2-3 inches to eliminate gaps. If using mulch, opt for 3-4 inches of straw, wood chips, or pine needles. The key is creating a dense, continuous layer—any exposed soil will sprout weeds within days.
🪴 Step 2: Prepare the Soil Surface
Remove existing weeds first by hand or with a hoe—don't till, as that spreads weed seeds deeper into the soil. Rake the surface smooth to eliminate rocks or debris that could poke through your barrier later. I like to add a thin layer of compost afterward to feed soil microbes and improve texture.
The goal is a clean, level surface. If your soil is rocky or uneven, fill low spots with extra compost before laying your barrier. This ensures even coverage and prevents weeds from sprouting in gaps. A well-prepared base makes all the difference in how long your barrier lasts.
💧 Step 3: Install the Barrier Correctly
For cardboard/newspaper, wet the layers thoroughly before placing them—this helps them stick together and decompose more evenly. Overlap edges by at least 2 inches and weigh down corners with bricks or rocks to prevent wind from lifting them. If using mulch, spread it evenly, avoiding piles that could create gaps.
Leave a 1-inch border of bare soil around plant stems to prevent smothering. Weeds will still try to push through, so check weekly and add more mulch or cardboard as needed. The first few weeks are critical—this is when weeds test your barrier's strength.
☀️ Step 4: Maintain and Refresh Over Time
After 4-6 weeks, your cardboard will start breaking down. That's when you'll see weeds poking through—this is normal. Simply add another layer of mulch or fresh cardboard to extend the barrier's life. I refresh mine every 8-12 weeks during the growing season to keep weeds at bay.
Water lightly after adding new layers to help them settle. Avoid heavy watering, which can wash mulch away. Over time, your barrier will decompose completely—this is why I combine it with regular hand-pulling in high-weed areas. The goal isn't permanent suppression; it's consistent management.
✂️ Step 5: Integrate Living Mulches for Long-Term Control
For permanent beds, plant low-growing ground covers like clover, creeping thyme, or vinca between crops. These "living mulches" outcompete weeds while improving soil health. I use clover in my vegetable beds—it fixes nitrogen and smothers weeds naturally.
Combine this with hoeing between rows to catch weeds early. The key is consistency: no single method works forever, but this layered approach keeps weeds under control with minimal effort. Once you establish the routine, maintenance takes just 10-15 minutes weekly—far less than chemical treatments.
Tips & tricks for effective natural weed prevention
These practical strategies will help you extend the life of your weed barriers and keep your garden looking pristine with minimal effort.
Layering is Key: When installing your barrier, especially with cardboard or newspaper, create a double layer for high-weed areas. I've found that two sheets of unbleached cardboard work better than one—it blocks more light and lasts longer before needing refreshment. For mulch, alternate between organic materials like straw and wood chips to create a more effective light-blocking barrier. This layered approach mimics the natural decomposition process while maintaining weed suppression for those critical 4-6 weeks before refreshment.
Seasonal Timing Matters: The 10-15 minutes weekly maintenance I mentioned isn't just about pulling weeds—it's about strategic timing. In spring and fall when weed seeds are most active, increase your checks to every 5-7 days. During summer's dry heat, weeds may become dormant, giving you a brief respite. This seasonal adjustment means you'll spend less time overall while keeping weeds from gaining a foothold during their peak growth periods.
Edge Management: The most common failure point in weed barriers is the edges where materials meet soil or plants. To prevent this, create a 2-inch buffer zone around plants by using a combination of mulch and cardboard. I've had the best success with a "V" shape of cardboard extending down into the soil at edges, then covering with mulch. This creates a physical barrier that weeds can't penetrate, even when they try to push through the center.
Compost Integration: That thin layer of compost you add during Step 2 isn't just for soil microbes—it's a strategic move. Compost contains beneficial microbes that outcompete weed seeds in the soil. For even better results, mix in a handful of wood ash (optional) when preparing your barrier area. The alkaline nature of ash creates an inhospitable environment for many weed seeds while benefiting your plants.
Pro Tips for Prevent Weeds In Garden
- These practical strategies will help you extend the life of your weed barriers and keep your garden looking pristine ...
- Layering is Key: When installing your barrier, especially with cardboard or newspaper, create a double layer for high...
- Seasonal Timing Matters: The 10-15 minutes weekly maintenance I mentioned isn't just about pulling weeds—it's about s...
Frequently asked questions
Got questions about keeping weeds at bay without harsh chemicals? You’re not alone! Here are answers to some of the most common concerns gardeners face when using natural weed prevention methods.
What’s the best natural weed barrier for small gardens?
For small spaces, cardboard or thick layers of newspaper (covered with mulch) work wonders. They block sunlight while breaking down over time. Landscape fabric is another great option—just cut holes for plants and secure edges with rocks or soil.
How long does it take for mulch to suppress weeds effectively?
Mulch starts working immediately by blocking sunlight, but 3–6 months is ideal for full suppression. Organic mulches (like straw or wood chips) also improve soil health as they decompose. Pro tip: Refresh mulch annually for best results!
Are DIY weed barriers cheaper than buying pre-made ones?
DIY options like cardboard, pine cones, or grass clippings cost almost nothing. Pre-made barriers (e.g., landscape fabric) may last longer but require upfront investment. Win-win: Repurpose household items to save money!
Can I use vinegar or salt to kill weeds under my natural barriers?
While vinegar (undiluted) or salt can kill weeds, they’re not ideal under barriers—they can harm soil and nearby plants. Instead, pull weeds manually or spot-treat with boiling water for targeted control.
What if weeds keep growing through my barrier?
Check for gaps! Seal edges with rocks, soil, or extra mulch to close openings. If weeds persist, try a thicker layer of mulch (4–6 inches) or switch to landscape fabric with a tighter weave.
Do natural barriers work in rainy climates?
Yes, but adjust materials. Avoid cardboard (it rots quickly) and opt for plastic sheeting under mulch or gravel-based barriers to prevent erosion. Drainage is key—ensure water flows away from plant roots!
Wrapping up and next steps
Preventing weeds in your garden doesn’t have to mean harsh chemicals or endless pulling—just a few natural, proactive steps can make a world of difference! By using mulch, landscape fabric, or even strategic planting, you’ll save time, protect your soil, and keep your garden thriving without the hassle. 🌱
Now that you’ve got the tools and know-how, it’s time to roll up your sleeves and put them to work! Start small—maybe with one bed or row—and watch how quickly your efforts pay off. Happy gardening! 🌿