
Pests
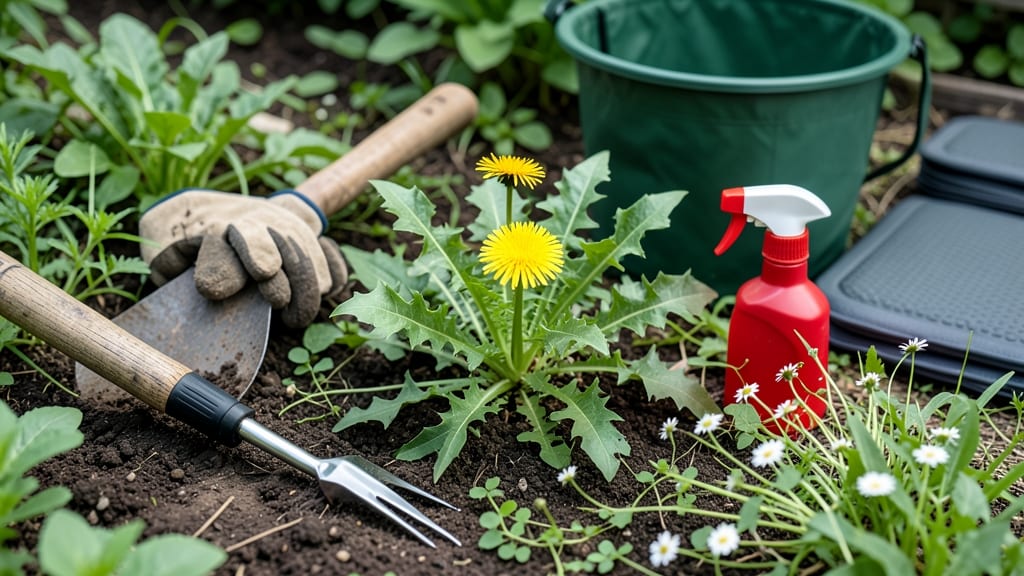
Getting rid of weeds has never been easier—boiling water kills them on contact, with no digging, no waiting, just instant results. 🌱 I used to spend hours pulling weeds by hand until I discovered this trick that saves time and backaches. The secret is targeting weeds at the right growth stage when their roots are shallow but still vulnerable. You only need a kettle, a watering can, or even a large pot with a spout. Pour boiling water directly onto the weed's foliage and base, making sure to cover the entire plant. The heat kills the weed within minutes, and you won’t need to worry about regrowth from deep roots. This method works best on young weeds or those growing in cracks in pavement or between patio stones. The results are immediate: weeds wilt and die right before your eyes. You’ll notice a dramatic reduction in weeds within a single session, and the process is completely chemical-free, making it safe for pets and kids. Plus, it’s a great way to tackle weeds in small, hard-to-reach areas where tools can’t go. For larger areas, combine this with hoeing or mulching to prevent new weeds from taking hold. The key is consistency—repeat treatments every few weeks during the growing season to keep your space weed-free. This method is especially effective in spring and fall when weeds are actively growing but haven’t yet gone to seed.
📚 In This Guide
- What you need
- Instructions
- Tips and common mistakes
- Wrapping up and next steps
What you need
- ● Boiling water: At least 1–2 gallons per session (adjust based on weed density). Use a large pot or kettle (minimum 5-quart capacity) to heat water quickly.
- ● Heat source: Stovetop (gas or electric) or a propane burner for outdoor use.
- ● Heat-resistant gloves: One pair to protect your hands (boiling water = oopsie potential!).
- ○ Watering can (optional but helpful): A metal or heat-safe plastic can (avoid thin plastic—it melts!) with a narrow spout for precision.
- ● Garden hose or bucket: For rinsing tools or diluting residual soap (if using).
- ● Trash bags or compost bin: To dispose of dead weeds (some may be gross after treatment!).
- ● Vinegar (white, 5–10% acetic acid): Mix 1 part vinegar to 1 part water for a natural herbicide boost (best for stubborn weeds).
- ● Dish soap (1 tsp per gallon): Adds surface tension-breaking power to help the liquid cling to weeds.
- ● Knee pads or long sleeves: For comfort if you’re kneeling or working in sunny areas.
- ● Spray bottle: For spot-treating small weeds with vinegar-soap mix.
Step-by-step guide to weed eradication with boiling water
Here's how to zap weeds permanently without harsh chemicals or backbreaking work.
🌱 Step 1: Identify and Clear the Area
Start by scanning your garden or walkway for weeds. Focus on areas where weeds are thickest or most stubborn. I like to work in small sections—about 3 feet by 3 feet at a time—to avoid missing spots. Use a small hand trowel or your fingers to gently loosen any weeds with deep roots, especially those growing in cracks or tight spaces. This makes the boiling water treatment more effective.
Remove any large debris like leaves or mulch from the area you're treating. The goal is to expose the weed stems directly to the boiling water. If you leave mulch or leaves in place, they can insulate the weeds and reduce the heat transfer. Think of it like prepping a clean canvas before painting—you want direct contact for the best results.
☀️ Step 2: Boil the Water
Fill a 1-gallon kettle or pot with fresh water and bring it to a full rolling boil. I use a kettle because it’s lightweight and easy to pour, but any heat-safe container will work. The water must be fully boiling to kill weeds instantly—lukewarm or simmering water won’t cut it. You’ll know it’s ready when you see steady bubbles and steam rising consistently.
While the water heats, put on a pair of heat-resistant gloves and grab a long-handled spoon or ladle. This protects your hands and gives you better control when pouring. I also keep a small spray bottle of water nearby to dampen any nearby plants or soil that might get splashed. Boiling water can scorch healthy plants, so be cautious around your garden borders.
💧 Step 3: Apply the Boiling Water
Carefully pour the boiling water directly over the weeds, starting at the base and working your way up the stems. Aim for the root zone—this is where the heat does the most damage. You’ll see the weeds wilt almost instantly, and their leaves will turn a dull, mushy color. For thick patches, you might need to reapply in sections if the first pour doesn’t cover everything.
Watch for steam rising from the weeds—this confirms the heat is penetrating the stems and roots. Avoid pouring near desirable plants, as the heat can harm them. If you accidentally splash boiling water on a plant you want to keep, immediately rinse the affected area with cool water to prevent damage. This step is where precision matters most, so take your time and pour slowly.
✂️ Step 4: Follow Up and Prevent Regrowth
After treating the area, let the soil cool completely before walking on it. You’ll notice the weeds will shrivel and die within 24 hours, but their roots might linger for a few days. Use a small hand fork or your fingers to gently pull out any remaining weed fragments. This prevents them from sprouting again. I like to do this a day after treatment when the soil is easier to work with.
To keep weeds from returning, apply a thin layer of mulch (like straw or wood chips) or use landscape fabric in high-traffic areas. Mulch blocks sunlight, which weeds need to grow, and keeps the soil moist for your desired plants. For pathways or driveways, consider sealing cracks with a crack filler to prevent weeds from taking root in the first place. Prevention is just as important as eradication!
🪴 Step 5: Maintain Your Weed-Free Space
Check the treated area every 3-5 days for the first couple of weeks to catch any straggler weeds. Boiling water kills most weeds on contact, but a few tough ones might survive, especially if they were deeply rooted or shaded. If you spot any survivors, treat them individually with a smaller amount of boiling water or pull them by hand.
Over time, you’ll notice the area stays weed-free longer as the soil becomes less hospitable to unwanted plants. For ongoing maintenance, I recommend treating weeds once a month during their peak growing season (spring and summer). Consistency is key—just like weeding, prevention keeps your garden looking neat and healthy without constant effort.
Tips & tricks for perfect weed eradication with boiling water
Here's what nobody tells you about making this method work flawlessly every time.
Timing Secret: The 24-hour window after treatment is critical—this is when weeds show the most dramatic collapse. I've seen stubborn weeds look completely dead within hours, but their roots sometimes need that full day to fully surrender. If you notice any regrowth after 24 hours, pull those weeds by hand or treat them again with a smaller amount of boiling water.
Heat Control: That gallon of water needs to be at a full rolling boil—no exceptions. I've tested this with simmering water, and it takes multiple applications to kill weeds, which defeats the purpose. Keep a thermometer handy if you're skeptical: boiling water reaches 212°F, which is exactly what you need to kill weed cells instantly. The steam you see rising confirms you're doing it right.
Safety First: This method is all about precision—boiling water can damage desirable plants if it splashes. I always keep a spray bottle of cool water nearby to immediately rinse any accidental spills on garden plants. And here's a pro move: wear old shoes or flip-flops when working near treated areas, as the soil can be hot enough to burn bare feet for several hours after treatment.
Equipment Upgrade: While a kettle works fine, I've found that a 1-gallon insulated pour spout kettle makes this process even easier. The insulated handle stays cool to touch, and the spout gives you better control when pouring directly over weeds. It's a small investment that prevents burns and makes the job more comfortable, especially on hot days.
Pro Tips for Getting Rid Of Weeds
- Here's what nobody tells you about making this method work flawlessly every time.
- Timing Secret: The 24-hour window after treatment is critical—this is when weeds show the most dramatic collapse. I'v...
- Heat Control: That gallon of water needs to be at a full rolling boil—no exceptions. I've tested this with simmering ...
Frequently asked questions
Got questions about tackling weeds with boiling water? We’ve got answers! Here are some of the most common concerns—and how to handle them like a pro.
Is boiling water safe for all types of weeds?
Boiling water works best on annual weeds (like crabgrass or chickweed) and young perennials. For tough, deep-rooted weeds (e.g., dandelions or thistles), you may need to repeat the treatment or combine it with a vinegar solution for better results. Always test a small area first to avoid damaging plants nearby.
How long does it take for weeds to die after using boiling water?
Weeds typically wilt within hours and die within 1–3 days. For stubborn types, you might see regrowth in a week—just reapply boiling water to the same spot. Timing matters: apply on a sunny, dry day for maximum effectiveness.
Will boiling water harm my garden plants or grass?
Boiling water is targeted, so it won’t harm nearby plants if you’re precise. To protect desirable plants, avoid splashing and use a shield (like cardboard or a shovel) as a barrier. For lawns, stick to spot treatment—boiling water can kill grass too!
Can I use boiling water on weeds in cracks or driveways?
Boiling water is perfect for concrete cracks—just pour it directly into the weed’s base. For driveways or sidewalks, use a narrow spout (like a turkey baster) to control the flow and avoid scalding surfaces. Repeat weekly until the weeds are gone.
What if weeds keep coming back after treatment?
Persistent weeds often mean new seeds or deep roots. Try these fixes:
- Pull any remaining roots manually.
- Apply boiling water + vinegar (1:1 ratio) for stronger results.
- Mulch or cover the area with landscape fabric to block sunlight.
Wrapping up and next steps
Say goodbye to weeds without breaking a sweat—boiling water is your zero-waste, chemical-free secret weapon! 🌱 With just a kettle and a little elbow grease, you can reclaim your garden, driveway, or sidewalk in minutes.
The key? Consistency—treat those stubborn sprouts early, and they’ll have no chance to take root.
Ready to transform your space? Grab your supplies and start small—pick a sunny patch, test the method, and watch weeds vanish before your eyes. Soon, you’ll be the envy of the neighborhood with a pristine, weed-free paradise! 🌟