
Plants
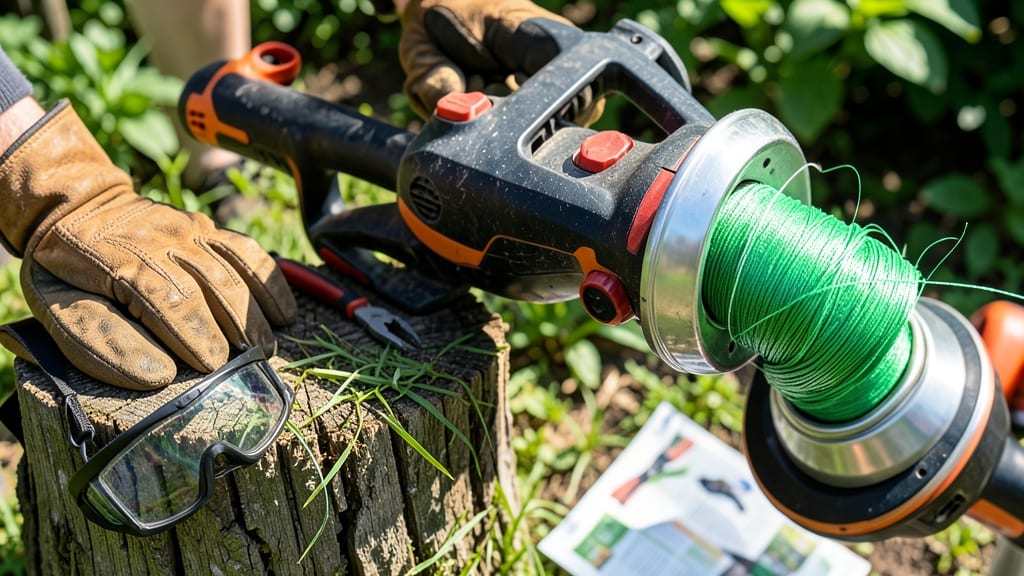
To start a weed whacker, you’ll need to verify the fuel-oil mix for gas-powered models or ensure your electric version is properly charged and connected. For pull-start models, prime the engine, pull the starter rope firmly, and wait for the engine to catch. Electric trimmers just need power and a manual blade activation.
Gas-powered models rely on a precise fuel-oil blend—typically a 50:1 ratio—to lubricate internal components and prevent engine damage. 🔥 If the engine sputters or fails to start, stale fuel or a clogged air filter could be the culprit.
For electric versions, always check the battery indicator light or voltage before use, as a weak charge can lead to inconsistent performance. I’ve found that pre-start blade inspections (like clearing debris from the cutting head) save time and reduce wear on both types of trimmers.
Safety is key, especially with pull-start models where recoil can be strong. Always wear protective gloves and eyewear, and never point the trimmer head toward yourself or others while starting.
For stubborn gas engines, try adjusting the choke setting or tapping the spark plug gently to dislodge carbon buildup—simple fixes that often resolve starting issues.
💡 In This Article
- Pull-Start Weed Whacker Starting Mechanics Explained
- Electric Weed Whacker Pre-Start Checklist and Safety Tips
Pull-start weed whacker starting mechanics explained
The internal combustion engine in pull-start weed whackers operates on a precise sequence of fuel-air mixture, compression, and ignition. When you pull the starter rope, it rotates the flywheel, which in turn cranks the piston inside the cylinder.
This creates a vacuum that draws the fuel-oil mixture (typically a 50:1 ratio) from the carburetor into the combustion chamber. The primer bulb, when pressed, injects extra fuel into the chamber to help with cold starts, ensuring the mixture is rich enough for ignition.
The choke setting plays a critical role here—it restricts airflow to enrich the fuel mixture when the engine is cold. Most pull-start models have a hot/cold/choke setting lever. For cold starts, set it to "choke" to prevent flooding while still allowing enough air for combustion.
Once the engine catches (2-3 pulls at most), move the lever to "hot" to maintain optimal airflow. If the engine sputters or dies after starting, it’s often due to stale fuel or a clogged air filter, which disrupts the fuel-air balance.
Consistent, firm pulls on the starter rope are essential—jerky motions can cause misfires or damage the recoil system. The rope should be pulled quickly and smoothly, with the trimmer held firmly against the ground to stabilize it.
You’ll hear a distinct "thunk" as the piston reaches top dead center, signaling the right moment for ignition. If the engine floods (excess fuel), wait 5-10 minutes for the fuel to evaporate before attempting to restart—this prevents the spark plug from shorting out.
Common starting issues often stem from basic maintenance oversights. For example, a dirty spark plug (covered in carbon deposits) can prevent ignition, while a clogged spark arrestor reduces engine power.
To troubleshoot, remove the spark plug, check for gaps (0.025–0.035 inches for most models), and clean it with a wire brush. If the engine still won’t start, the issue might be a faulty spark plug wire or a worn recoil starter—both require professional inspection.
Pro tip: If your trimmer sits unused for more than 30 days, the fuel can degrade, leading to gumming in the carburetor. Always use fresh fuel mixed with 2-cycle oil and store the trimmer with a stabilizer additive if long-term storage is needed.
This simple step can save you hours of frustration during your next yard work session. 🔥